How to Bake a Perfect Cake
|
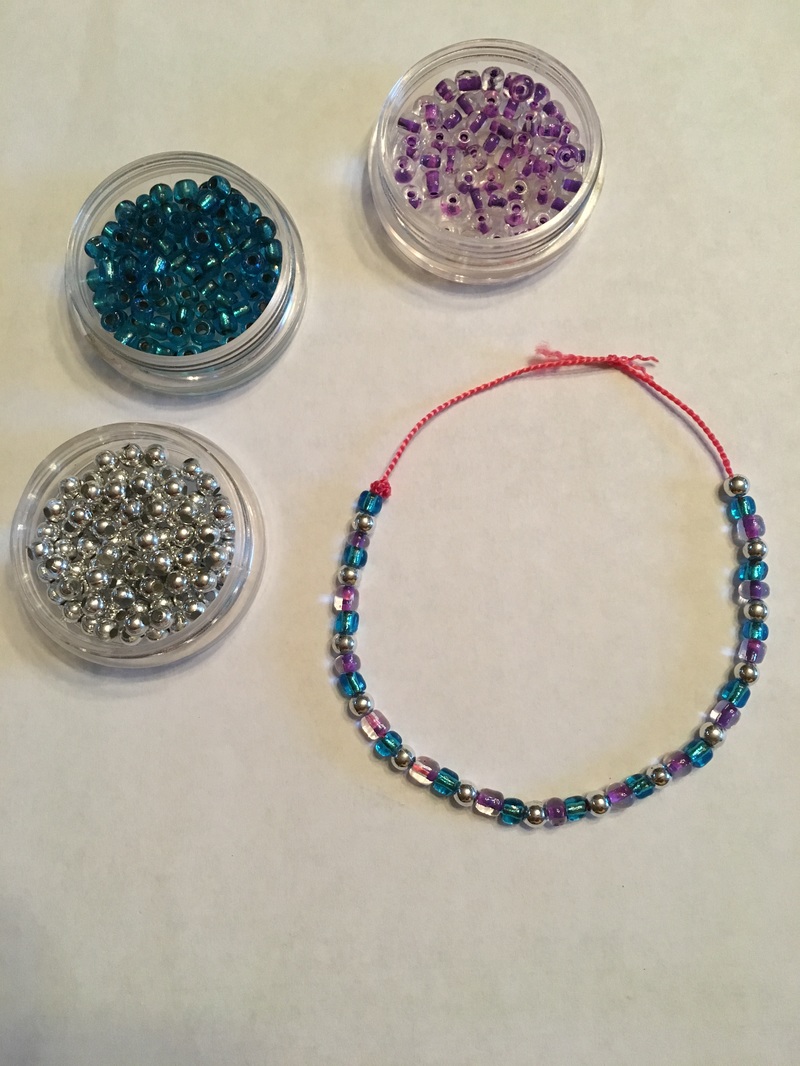
Jewelry Making 101
|
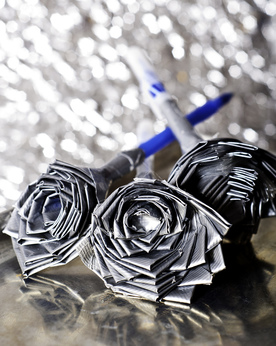
Did you ever wonder how to make a duct tape flower pen? Do you know what a duct tape flower pen is? I love making them.
Flower pens are very popular because you can try a lot of new styles.They are also popular because you can make flower pens out of anything that you want.The next paragraph will be about how to make a duct tape flower pen.
First, You cut a strip of duct tape. It does not matter the size but it should be more than 18 inches. Then, you cut out 2 to 3 inch strips out of the big strip. Next, fold one corner into the middle and then do the same with the other side.Then, cover a pen in duct tape however you want and then start placing the completed flower petals onto the pen.
Duct tape is so popular because it can be used to do many things. They used to be used in wars in Europe. Today we use duct tape for crafts and everyday use.
Some other ideas of things to make are mini purses, wristlets, feather earrings, wallets, picture frames and soda cap bracelets. Duct tape wallets are so much fun to make. I have made so many of them. You can also make flower pencils too.
When you make them you should visit the website called “SoCraftastic.” They explain the instructions very clearly.
If you are looking for a place to find duct tape you can go to the Dollar Store by ShopRite on Summerhill Rd.They sell imitation duct tape also. You can also make many other duct tape crafts from all different websites.
I hope you enjoy making these fun and colorful flowers. Don’t forget to be creative!
Rainbow Loom Bracelets
Autumn Walko
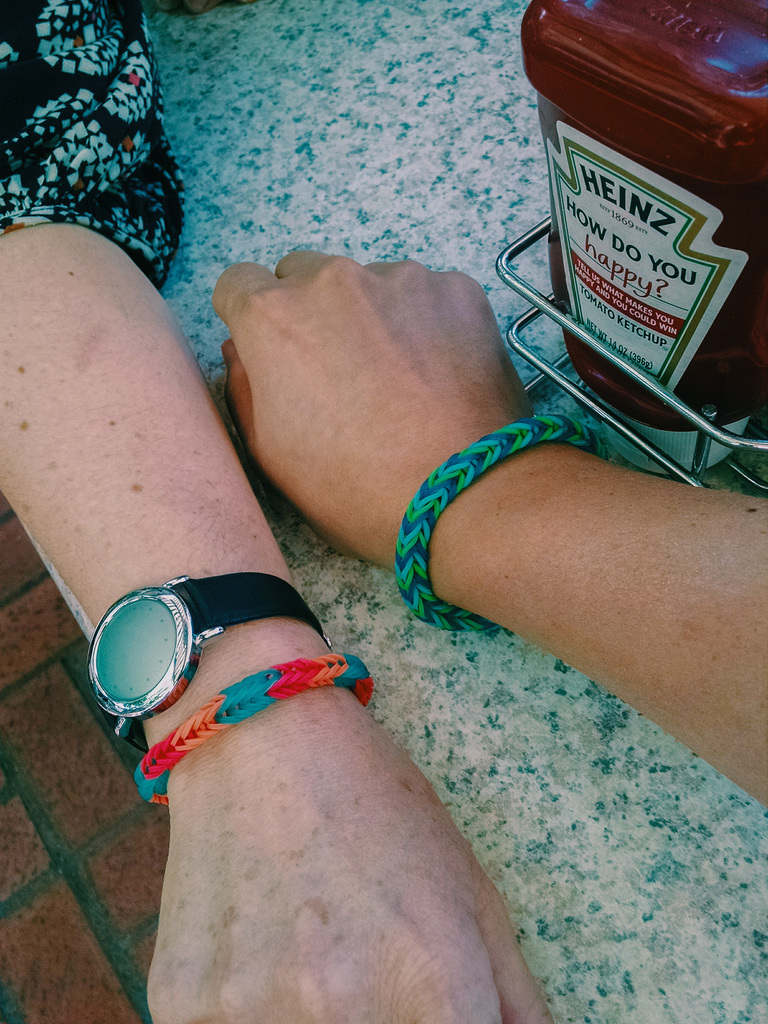
Did you ever wonder how to make a rainbow loom bracelet? Well I am her to tell you how to make one!
Step one:
Make sure you have these colors:
Red
Orange
Yellow
Green
Blue
Purple
Step 2:
Start by taking one red band in your finger and take your two finger and stretch the red band over your two fingers.
Step 3:
Take the orange band and vertically wrap it around the red band so the red band can’t fall out.
Step 4:
Keep on going in a pattern with the next color yellow then green then blue then purple.
Step 5
When you think it will fit around your wrist, take a loom clip. Loom clips come with the bands. (They can be in different shapes.)
Step 6:
Clip both the end and front on the clip.
And then that is your bracelet! Make sure you follow these directions carefully, or else it will be a disaster!
Photo used under Creative Commons from eekim
